How To: Photograph with Flowers

A rose by any other name would smell as sweet…
A uniquely beautiful way to add vibrant colour to your photographs is to work with flowers. During the spring and summer months this is a great time of year to find the best spots, and try out these tricks!
How To: Photograph with Flowers

The Rogers Rose Garden at The Hamilton Gardens, New Zealand.
The Rogers Rose Garden | Hamilton Gardens New Zealand
One of the most breath-taking locations to photograph with flowers is my favourite New Zealand garden: The Hamilton Gardens. These extensive gardens were created in the 1980s by a visionary who saw a better future for the site of Hamilton’s rubbish dump. They cover a 54 hectare space, and include themed gardens ranging from the traditional to the contemporary. The Hamilton Gardens frequently have a new feature to visit, with the exquisite Mansfield garden opening recently in 2018, [view my photoshoot here - coming soon] and the upcoming fantasy garden collections completed around 2020.
Here in the golden hour, Rogers Rose Garden is a superb collection of beautiful roses boasting almost every shade of colour imaginable. It was the perfect day to capture these pretties in all their glory, with a simple summer look to inspire your wardrobe. In this article I will cover how to photograph with flowers, the best ways to capture them in your images and a few of my favourite tips and tricks!

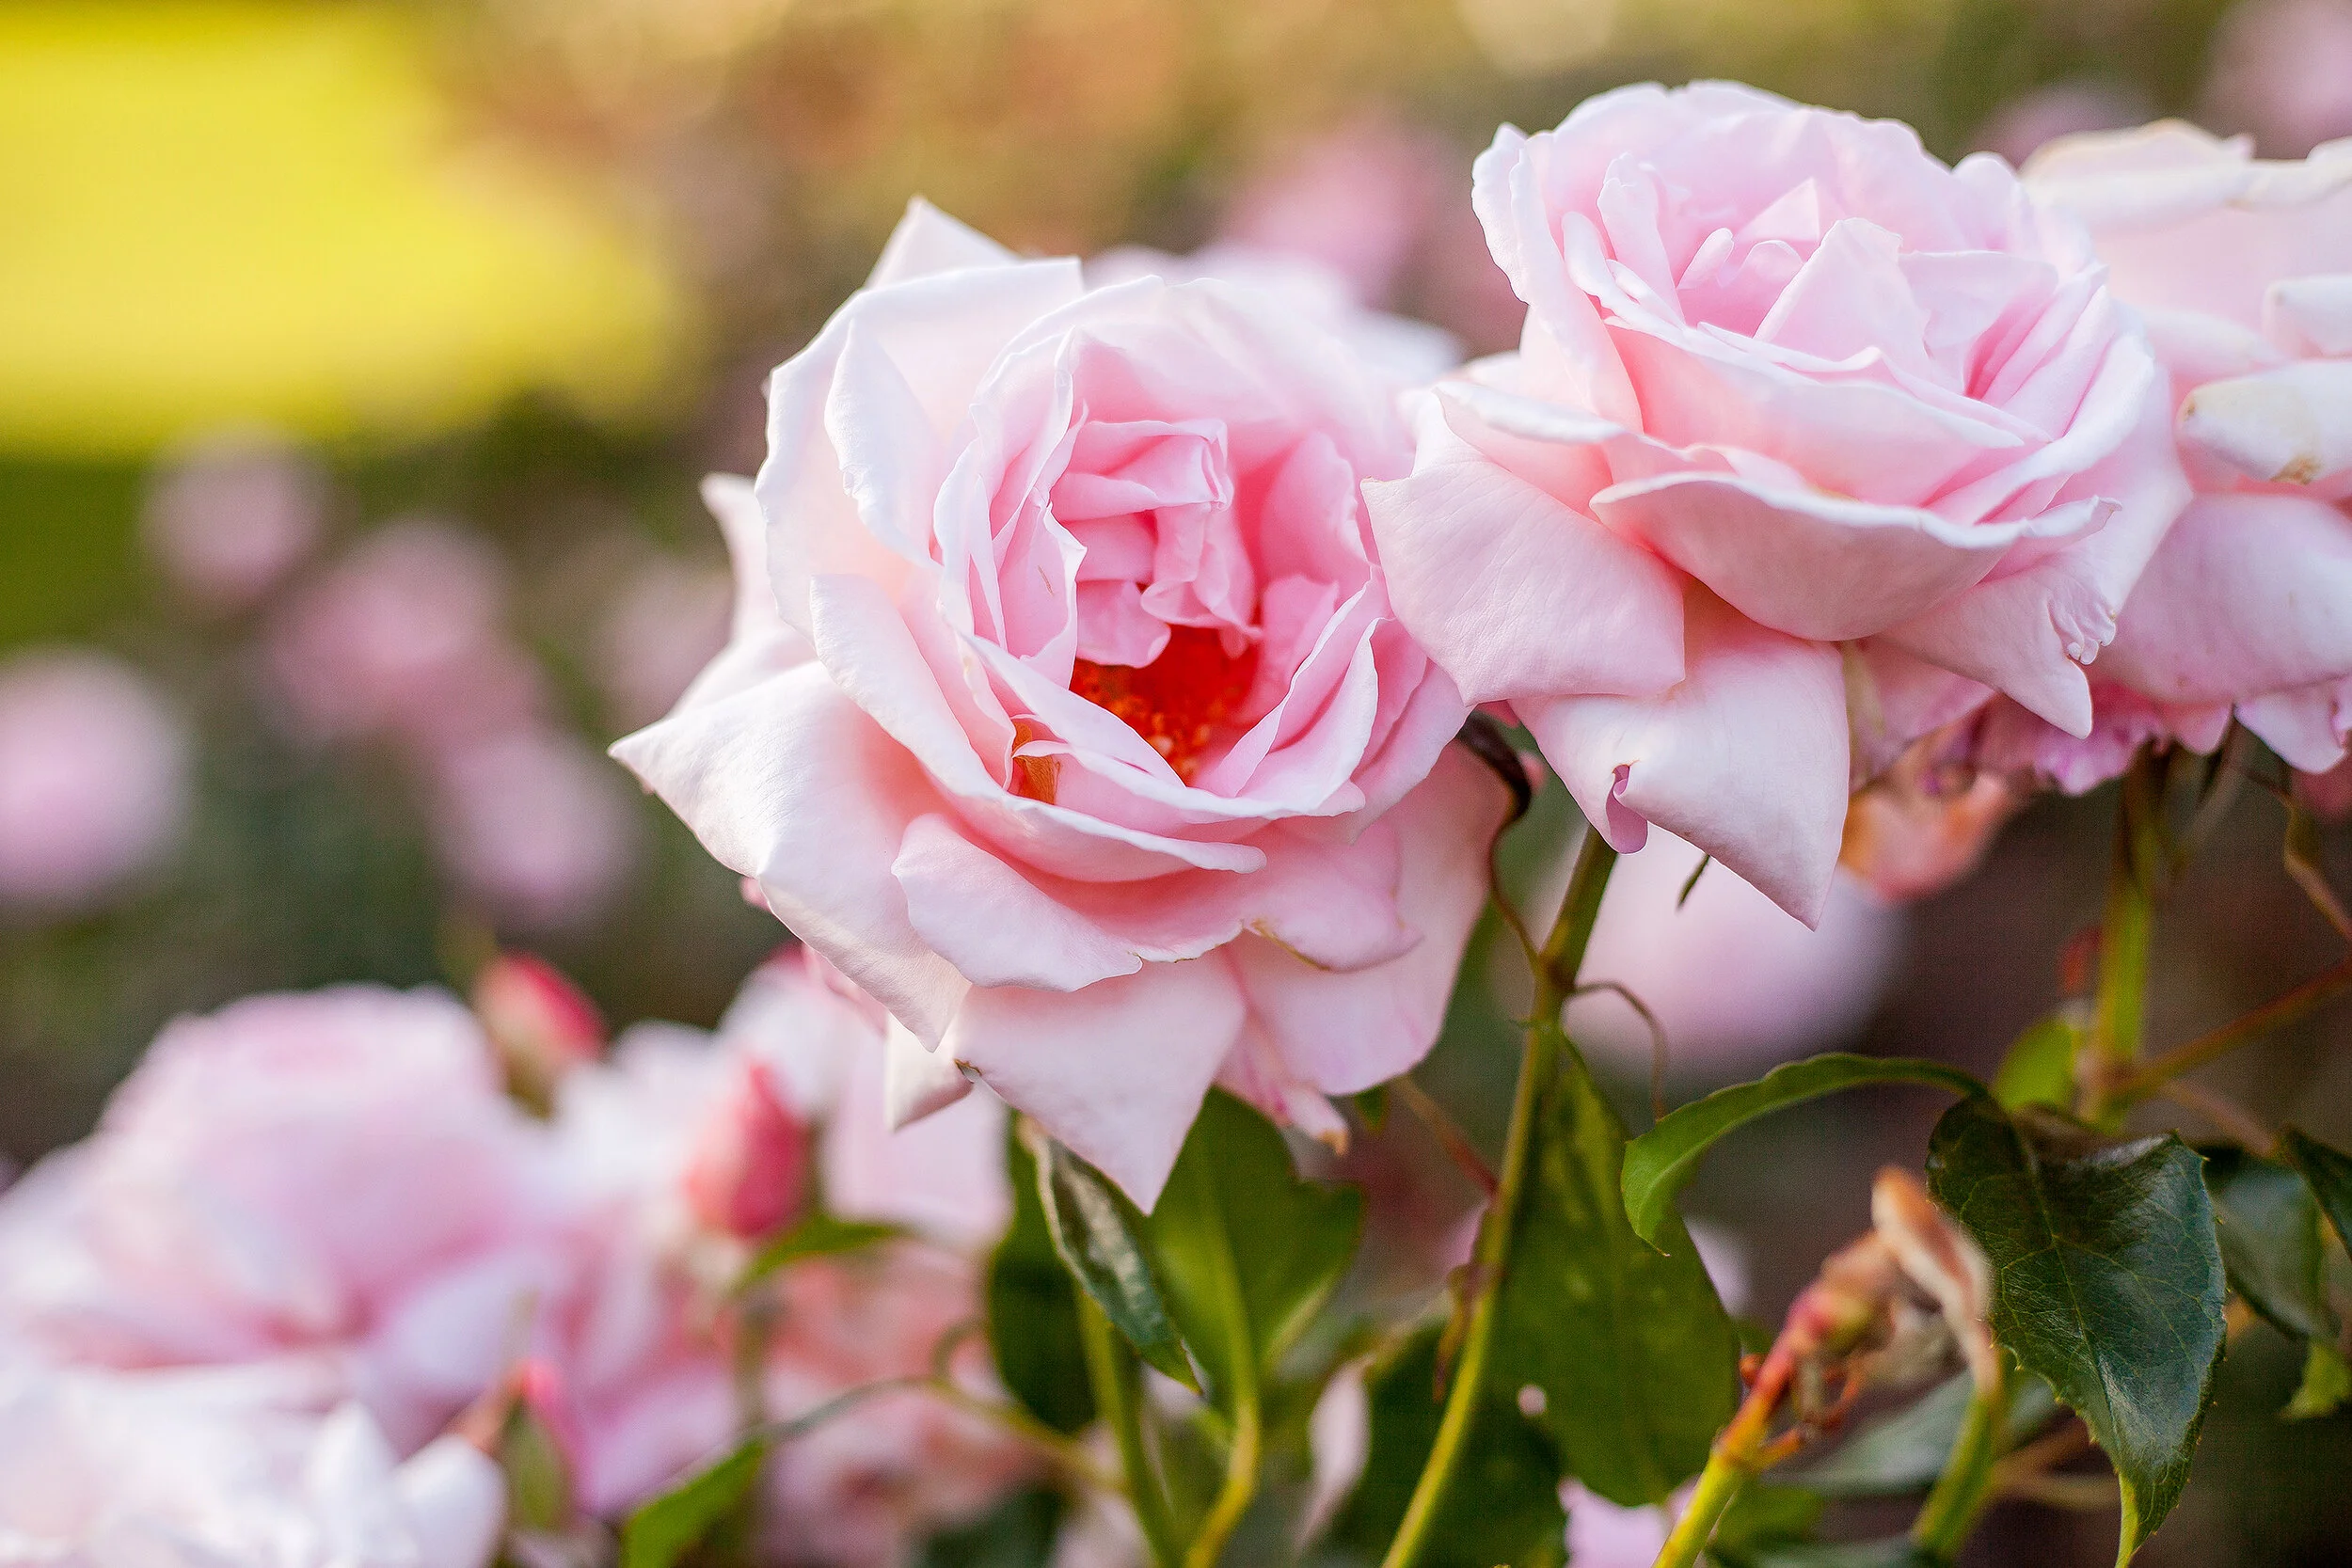
Captured at 2.8 and 400 ISO to maximise the depth of field and soft roses in front.
Best Time to Visit | Pacific Rose Bowl Festival
I traveled to these uniquely beautiful rose gardens at the best time of year, just before the Rose Festival of 2019. As soon as I arrived near the gate the enchanting scent of roses was dancing in the air, the absolute perfect place for a picnic. Check out my Instagram here for all the stories of my beautiful picnic experience here, including the amazing amount of friendly birdlife that came to greet us! Every year the roses look their best at this time, and are perfectly manicured for the enjoyment of the public and rose fans alike. If you love colour and flowers, come to see them during the month of November!
New Zealand rose breeder Dr Sam McGredy initiated the friendship affiliation with the common objective of promoting roses worldwide. The four-day festival is centered around the New Zealand Rose of the Year trial. Unlike most other rose competitions around the world which are judged by experts, the New Zealand Rose of the Year has been judged by the public since 2004. Festival visitors are invited to choose their five favourites from around 80 entries.
Competition classes include Best New Zealand Raised Rose, Best Hybrid Tea Rose, Best Climbing Rose, Best Floribunda, Most Fragrant Rose and the Children’s Choice Award. The overall winner wins the prestigious New Zealand Rose of the Year Award.
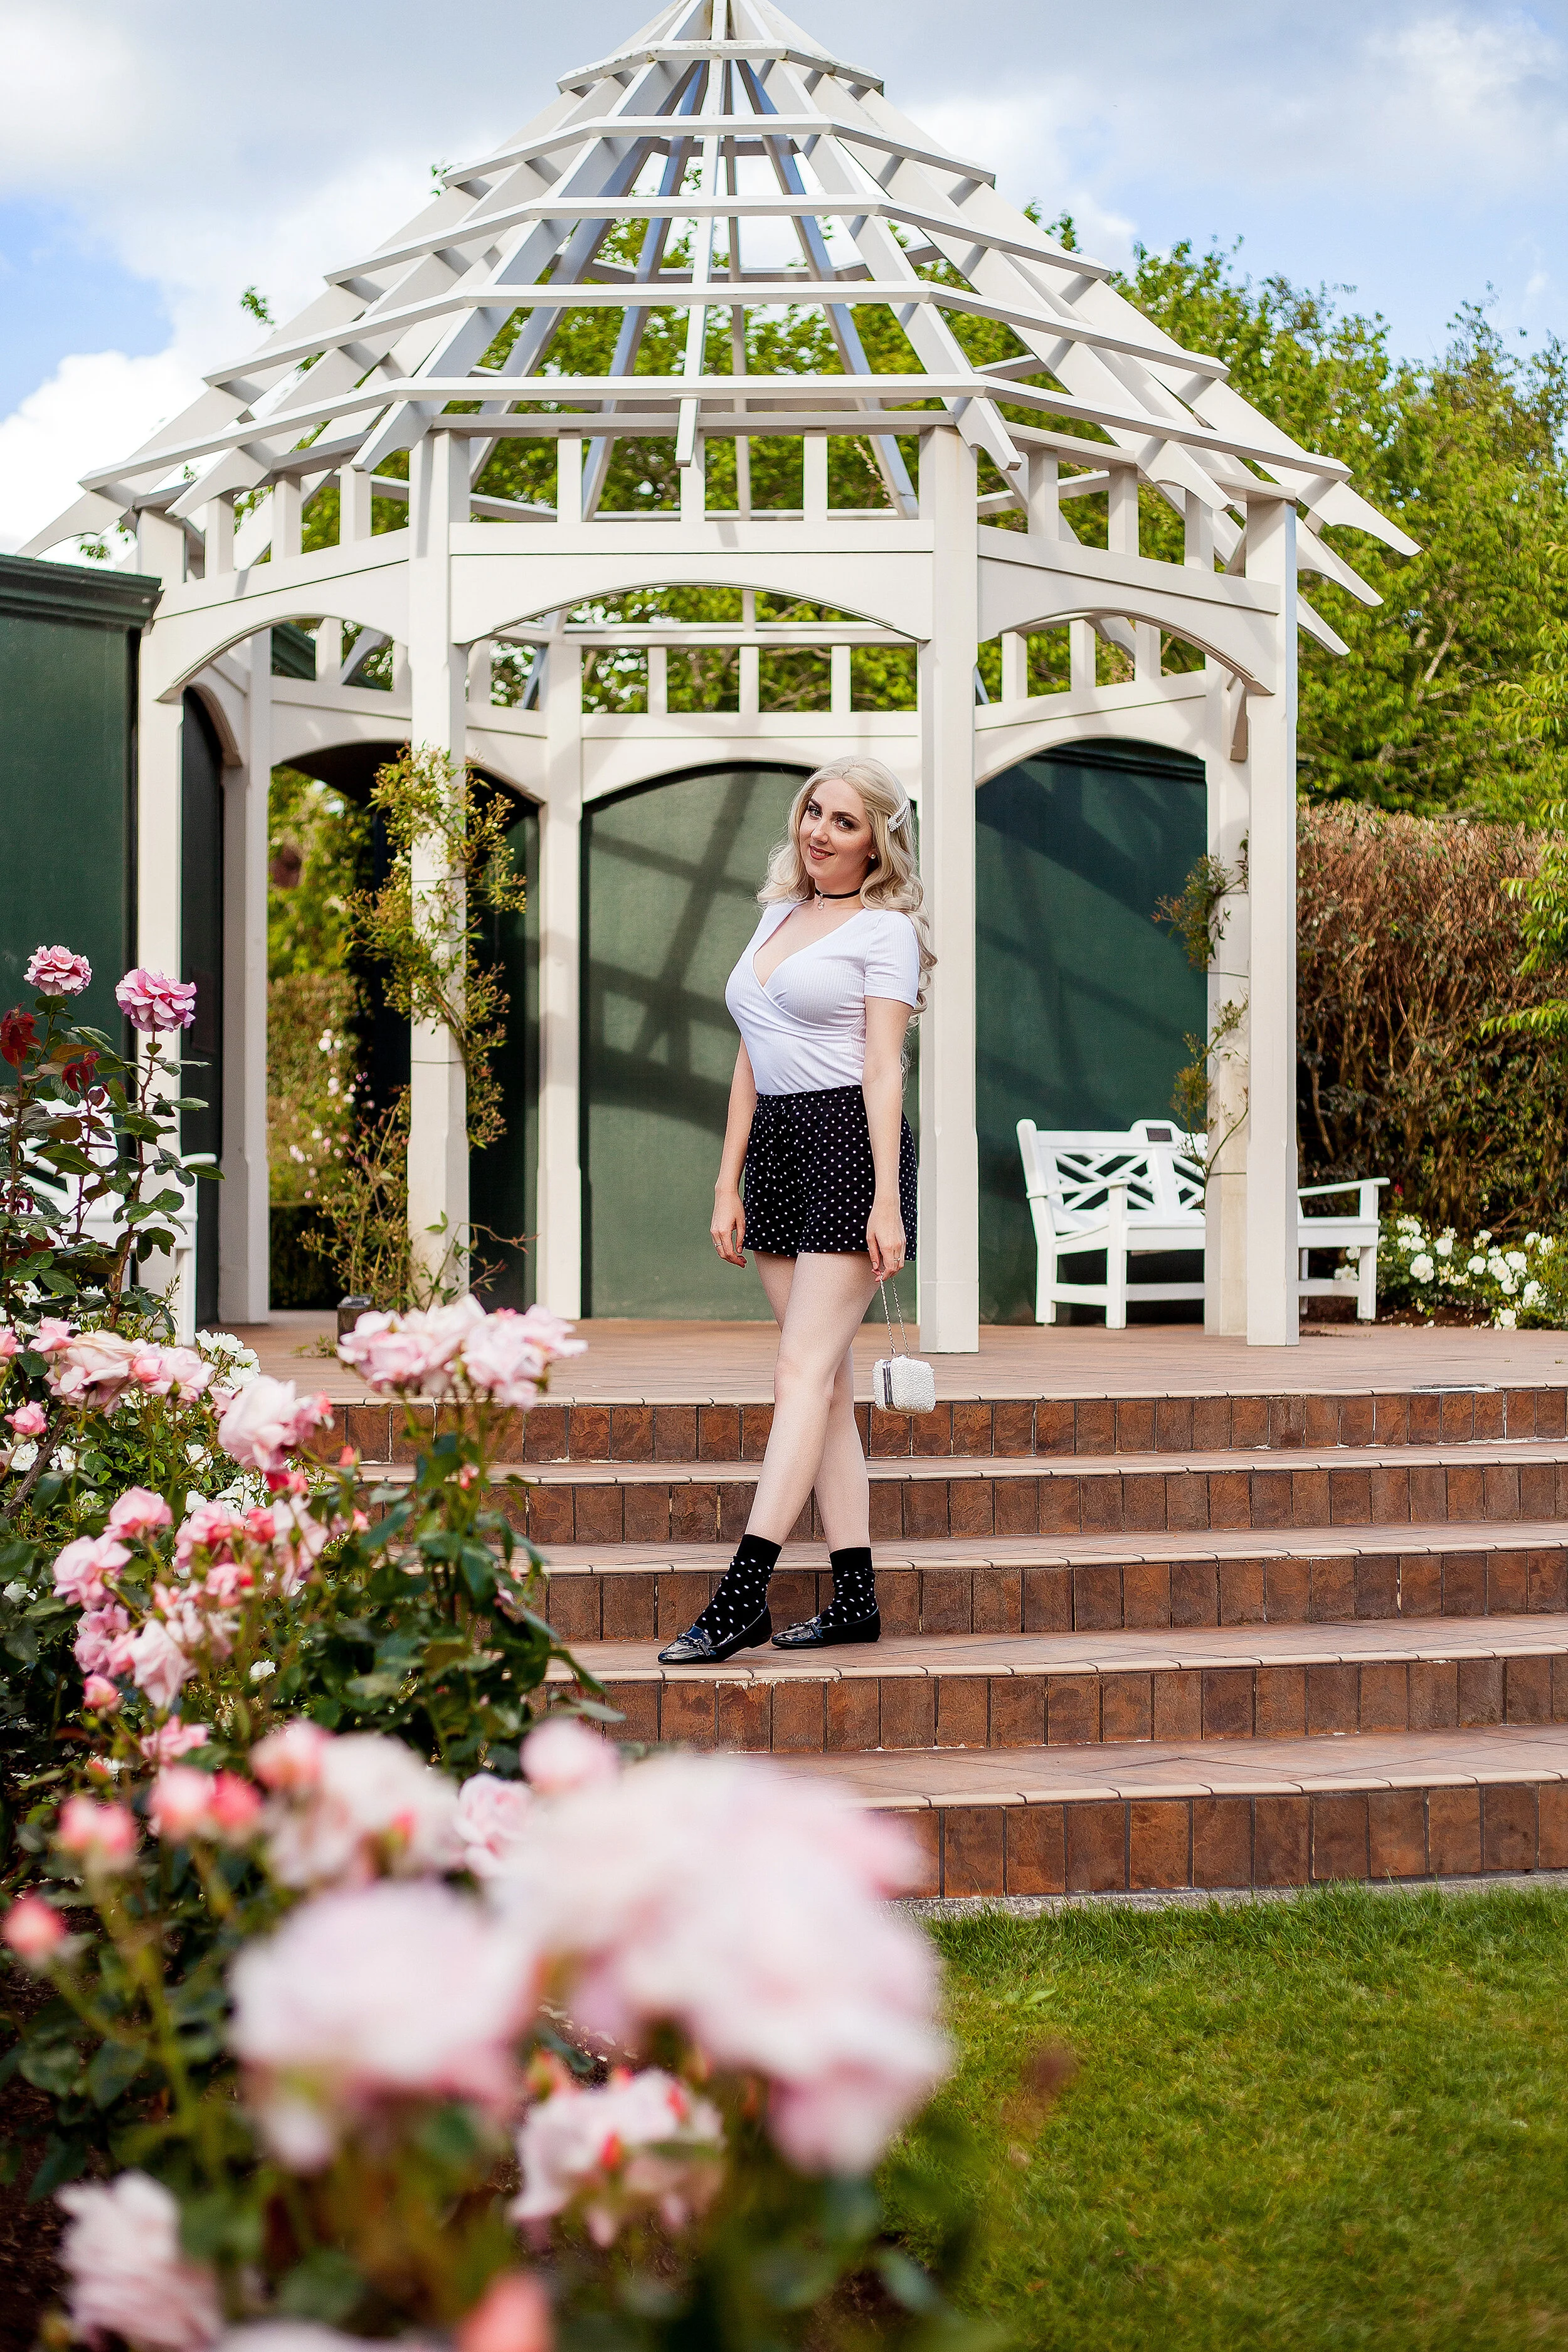


Shorts, Tee, and Shoes - Kmart NZ | Bag - Max | Socks - NZFW | Choker and Pearl Hairclip - Aliexpress
Photographing Flowers | Three Ways to Capture Flowers
The Soft Blur - Bring flowers close to your lens to create a soft blur in the sides or corners of your image. Use a portrait or zoom lens, avoid wide angles lenses to create this look. This works best in a cluster of flowers as I’ve done in the portrait above, so the soft blurs lead your eye along a row to flowers in focus with leading lines. This is effective for smaller patches of flowers, to create the illusion of large groups such as flowering bushes, poppy fields, or smaller gardens.
2. The Lush field - Use flowers as a framing device, either at the bottom of your image, the side or on a diagonal angle to beautifully frame your portrait from further away. You can capture more detail and landscape with this method, and it’s effective for lavender fields, rose gardens, and other large fields of flowers.
3. The Low Down - Place your camera at a lower angle like in the image below, to capture a varied range of heights and flowers at various distances. Use the flowers as the main feature of the photo, and place your subject in a predominant spot within your portrait to create interest.

Tips and Tricks | Three Tips for working with Flowers
Know your Flowers - To photograph with flowers you need to be a bit of a gardener and a weather predictor! Pick the right season where the flowers of your choice are at their peak. For these beautiful summer roses it’s the middle of November, and also consider the best time of day. Some flowers close their petals at the end of the day, so to capture them looking their best you’ll need them in full daylight. If possible, it’s best to capture them in the softer light of the afternoon or evening, and avoid people by shooting off peak rather than a weekend day.
Lighting is Key - Photographers paint with light regardless of your subject. [For a more in depth tutorial on how the basics of light, read the first photo studio article here]. Keep lighting soft or behind the flowers, as demonstrated in the images above, and work in with the weather. For example, if it’s overcast you’ll want to try more direct straight on shots, rather than when it’s sunny it’s fun to play with backlight.
More is More - When photographing with flowers it is often better to showcase them as lush as possible. Personally I don’t like a small amount of flowers in an image as it looks sad and empty! Try to include as many flowers in the frame as possible, and utilise depth of field to have some closer and others further from your lens to maximise on the amount of colour in your image. Utilise the handy hints in this article to capitalise on the colour available and have fun!
For more helpful photography tips and tricks, read ‘The Photo Studio’ starting with part one, equipment here!


A little thrush bopping around at the Hamilton Gardens.

Pink roses and backlight in the Rogers Rose Gardens.
Like this post? Follow me on Instagram, Facebook, Twitch, and Pinterest! ♡
Living the creative life in Christchurch, the south island of New Zealand with adopted family of pet pigeons, rescue hedgehog, and Mashmello the ringneck dove as featured on Ellomashmello.
Katherine is the New Zealand creator of ‘The Wardrobe’ and face of the blog & shop. Artist of wonder for ‘Katie Marvel’ the whimsical slow made fashion label, she is also the owner & photographer of portraiture, places and projects for ‘The Undefined Photography’ and maker of music for ‘Kaatje’.
The editor of The Beauty Blog New Zealand, she is the curator of multiple creative online communities including Slow Made Style, New Zealand Creators, and Pusheen The Cat Loves fan community with more to come...


